Are you looking to build your first PC but don’t know where to start? It can be a daunting task, with all the different components and instructions to follow. But don’t worry! This blog post will provide a step-by-step guide to building your first PC, including information on component selection and assembly instructions. With the help of this guide, you’ll be able to build a computer that meets your individual needs and is tailored specifically to you. So, let’s get started!
Why Build Your Own PC?
Building your own PC can be a rewarding and fulfilling experience for several reasons. Firstly, it allows you to have full control over the components you choose, ensuring that you get the best performance for your specific needs.
Additionally, building your own PC can be more cost-effective than buying a pre-built one, as you can shop around for the best deals on individual components. It also gives you the flexibility to upgrade your PC in the future, as you can easily swap out parts as needed. Finally, building your own PC can be a fun and educational process, allowing you to learn more about the inner workings of computers. So, whether you’re a gamer, a content creator, or simply looking for a personal project, building your own PC can be a great choice.
Components Needed for Building a PC
Now that you’ve decided to build your own PC, it’s time to gather all the components you’ll need. Here’s a list of essential components to get you started:
1. CPU (Central Processing Unit): This is the brain of your PC and will determine its overall performance. Choose one that fits your needs and budget.
2. Motherboard: The motherboard is the main circuit board that connects all the components together. Make sure it is compatible with your chosen CPU.
3. RAM (Random Access Memory): RAM is where your PC stores data for quick access. Opt for at least 8GB, but more is better for multitasking or demanding applications.
4. Storage: You’ll need a hard drive or solid-state drive (SSD) to store your operating system, programmes, and files. Consider a combination of both for optimal performance.
5. Graphics Card: If you’re into gaming or video editing, a dedicated graphics card is a must. Look for one that meets your specific requirements.
6. Power Supply: Choose a reliable power supply unit (PSU) that can handle the power demands of your components.
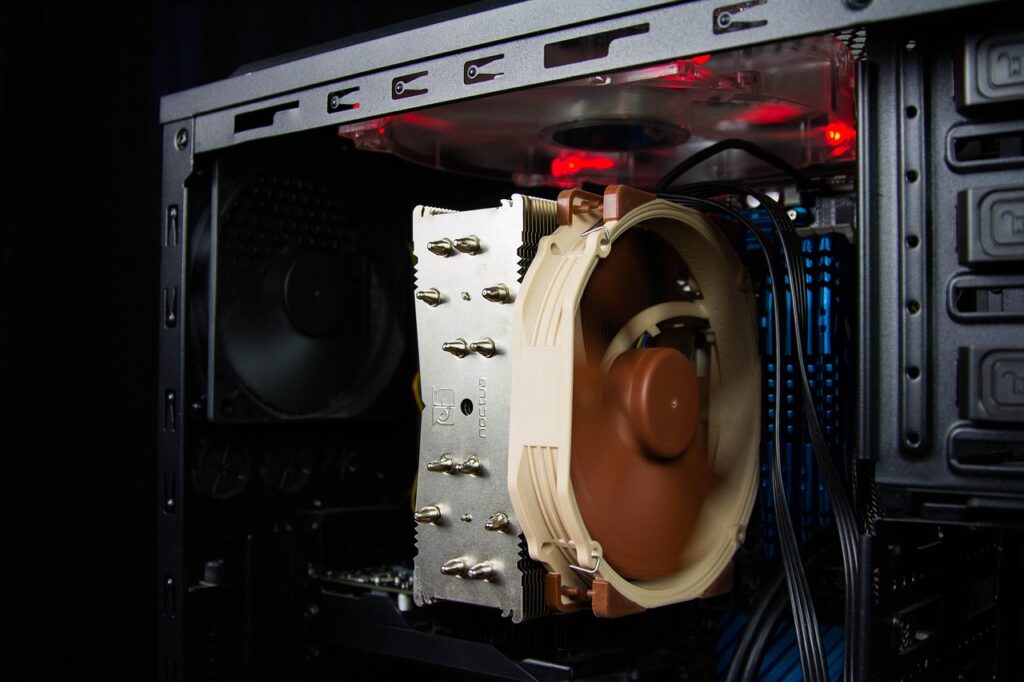
7. Case: Select a case that not only fits all your components but also has good airflow for proper cooling.
8. Monitor, Keyboard, and Mouse: Don’t forget the peripherals! Choose ones that suit your preferences and requirements.
9. Operating System: Decide whether you want to use Windows, macOS, or a Linux-based system.
Remember to research each component and read reviews to ensure you’re getting the best quality for your budget. Once you have all the necessary components, you’re ready to move on to the next step – choosing the right components for your build.

Choosing the Right Components
When it comes to choosing the right components for your PC build, there are a few key factors to consider. Firstly, think about your specific needs and budget. If you’re a gamer or content creator, you may want to invest in a high-performance CPU and graphics card. If you’re using your PC for everyday tasks like web browsing and word processing, a mid-range CPU and integrated graphics may be sufficient.
Next, make sure all your components are compatible with each other. Check the motherboard’s specifications to ensure it supports the CPU and RAM you’ve chosen. Also, consider the power requirements of your components and choose a power supply unit (PSU) that can handle the load.
Lastly, do your research and read reviews before making any final decisions. This will help you find the best quality components for your budget. Don’t rush the process, take your time to find the perfect components that will meet your needs and provide you with a reliable and powerful PC.
Preparing for Assembly
Now that you have all the necessary components for your PC build, it’s time to prepare for assembly. This is an exciting step where you get to see your project start coming together. Before you begin, make sure you have a clean and organised workspace with plenty of room to work.
Gather all the tools you’ll need, such as a screwdriver and cable ties, so you have them on hand. Take some time to read through the assembly instructions that came with your components, as well as any online resources or video tutorials that can provide additional guidance.
Familiarise yourself with the layout and connections of your motherboard, as this will be the central hub for all your components. Double-check that you have all the necessary cables and connectors for your specific build. Finally, take a deep breath and get ready to bring your PC to life!
Building Your PC: Step-by-Step Guide
Now comes the exciting part – building your PC! Follow these step-by-step instructions to ensure a smooth and successful assembly process.
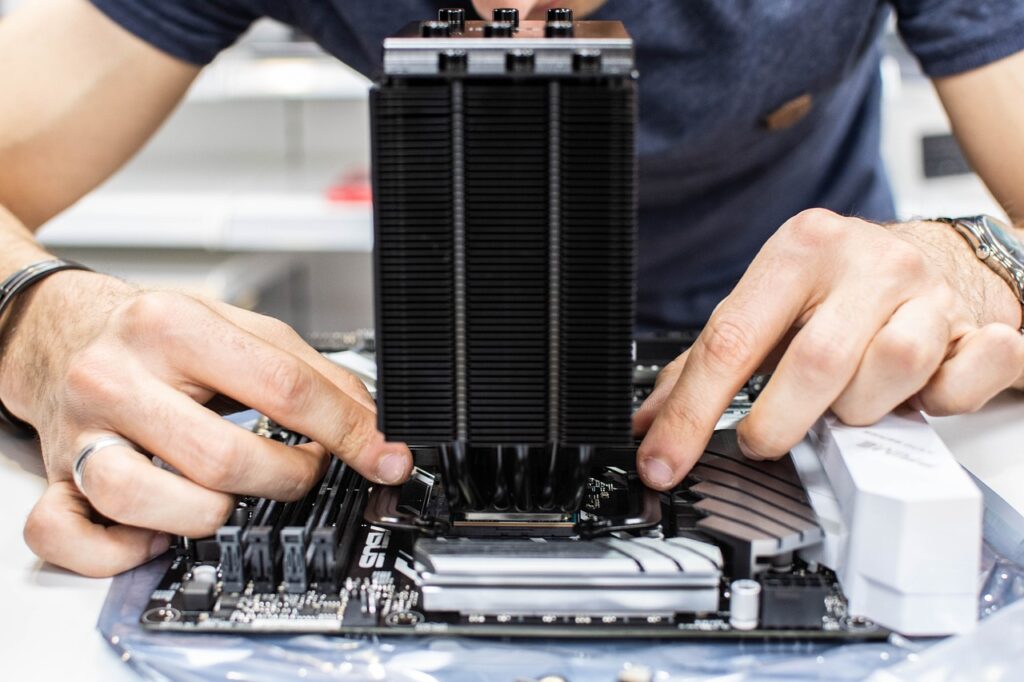
1. Start by preparing your motherboard. Install the CPU onto the motherboard, ensuring it aligns with the socket and securing it in place. Next, install the RAM into the appropriate slots, firmly pressing them until they click into place.
2. Prepare your case by removing any necessary panels or brackets. Install the power supply unit (PSU) into the designated spot, making sure to align it correctly.
3. Mount your motherboard into the case, aligning the screw holes with the standoffs. Secure it in place with screws, being careful not to overtighten.
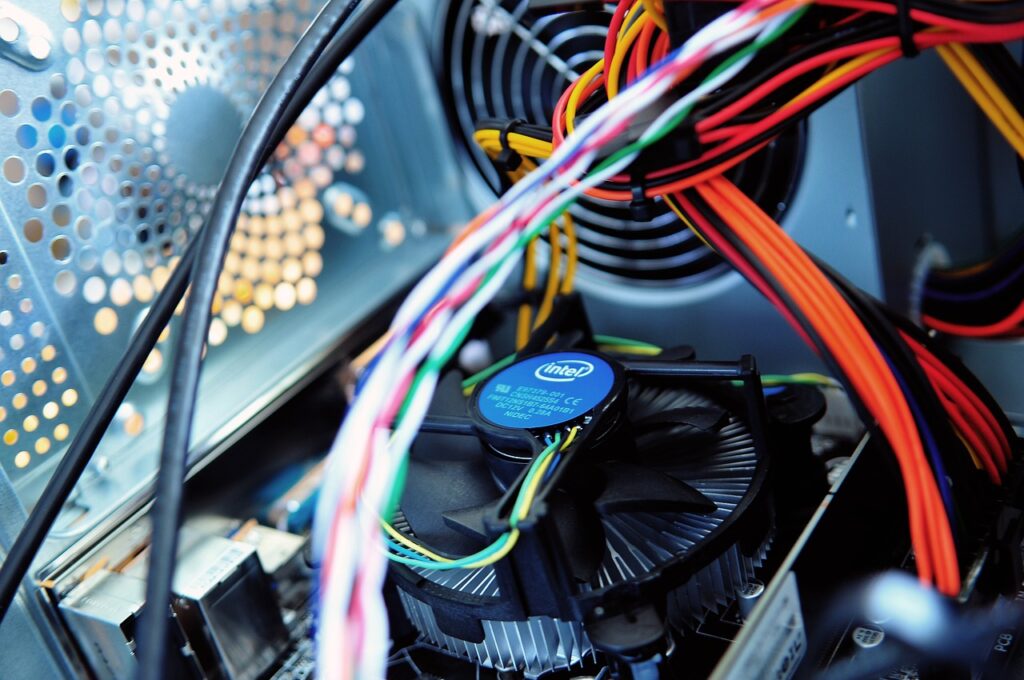
4. Connect the necessary cables from the PSU to the motherboard, ensuring a secure connection. Also, connect any necessary cables for the case’s front panel connectors.
5. Install your storage devices, such as hard drives or SSDs, into the appropriate bays or slots in the case. Secure them in place if needed.
6. Install your graphics card into the designated slot on the motherboard, ensuring a secure fit. Connect any necessary power cables to the graphics card.
7. Double-check all connections and ensure everything is securely in place. Take this time to tidy up any loose cables and use cable ties to keep them organised.
8. Finally, connect your monitor, keyboard, and mouse to the appropriate ports on the back of the case.
Congratulations! You have successfully built your PC. Now it’s time to power it on, install the operating system, and customise it to your liking. Enjoy your new custom-built PC!

BIOS and Initial Setup
Once you’ve successfully built your PC, it’s time to move on to the BIOS and initial setup. The BIOS (Basic Input/Output System) is a firmware that is installed on the motherboard and is responsible for booting up the computer and managing various hardware settings. To access the BIOS, you usually need to press a specific key (such as F2 or Del) during the initial startup.
Once you’re in the BIOS, you can configure various settings, such as the boot order, time and date, and enable or disable certain features. It’s important to consult your motherboard’s manual or manufacturer’s website for specific instructions on navigating and configuring the BIOS.
After configuring the BIOS settings, you can proceed with installing the operating system. This usually involves booting from a USB or DVD containing the operating system installation files and following the on-screen prompts to complete the installation.
Once the operating system is installed, you can begin customising your PC by installing drivers for your components, setting up your user account, and installing any additional software you may need.
Remember, the initial setup of your PC may vary depending on the specific components you’ve chosen and the operating system you’re using. Don’t hesitate to consult online resources or seek assistance if you encounter any issues during this process. Enjoy your newly built PC and happy computing!
Troubleshooting Tips
Building your first PC can be an exciting and fulfilling experience, but it’s not always plain sailing. If you encounter any issues during the process, don’t panic! Here are some troubleshooting tips to help you out:
1. Double-check your connections: Loose cables or improperly seated components can cause problems. Make sure everything is securely connected and in the right place.
2. Check for compatibility issues: If your PC isn’t booting up or experiencing strange behaviour, it could be due to incompatible components. Check that all your components are compatible with each other and the motherboard.
3. Test your RAM: Faulty RAM can cause system instability and crashes. Use a tool like MemTest86 to test your RAM for any errors.
4. Update your drivers: Outdated or incorrect drivers can cause various issues. Make sure to download the latest drivers for your components from the manufacturer’s website.
5. Monitor temperatures: Overheating can cause your PC to slow down or even shut down. Use monitoring software to check your temperatures and make sure your cooling system is working properly.
6. Consult online forums or communities: If you’re stuck and can’t figure out the issue, don’t hesitate to ask for help on online forums or communities. There are many experienced builders out there who are willing to assist.
Remember, building a PC is a learning process, and it’s normal to encounter some hiccups along the way. Stay patient, be thorough in your troubleshooting, and you’ll be able to overcome any obstacles that come your way. Good luck!

